December 18, 2005
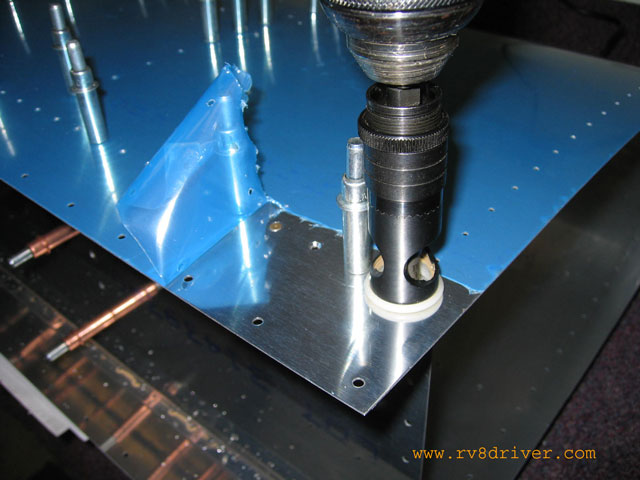
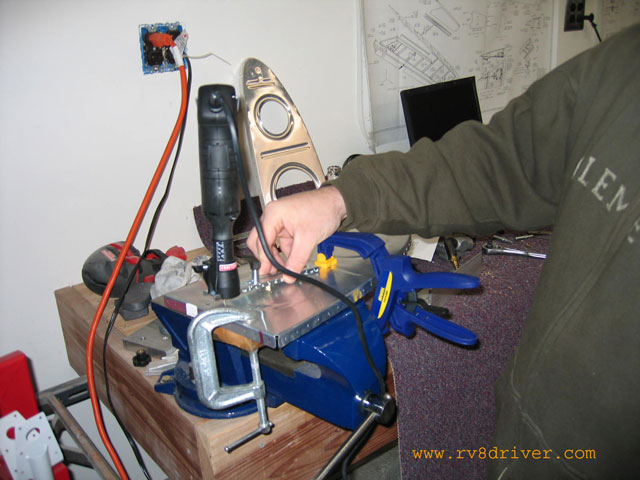
I got lots of loose ends to tie up, here I am setting the depth on the countersink.
Bam, countersunk the skin to baffle holes, I left the vinyl on to protect the aluminum.

Bout time I connected the templates with a 2 by.
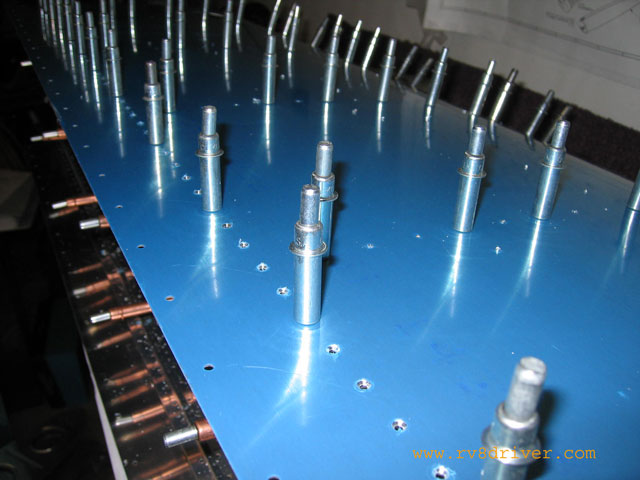
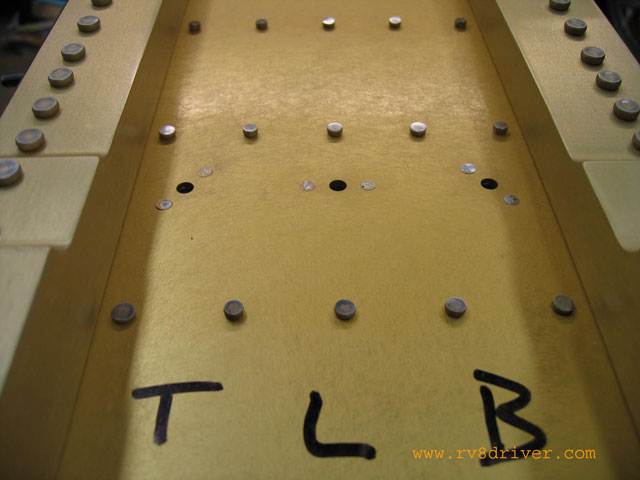
I sure need more clecos, fortunately I found enough that I was able to attach the stiffies, now the fuel tank is all drilled.
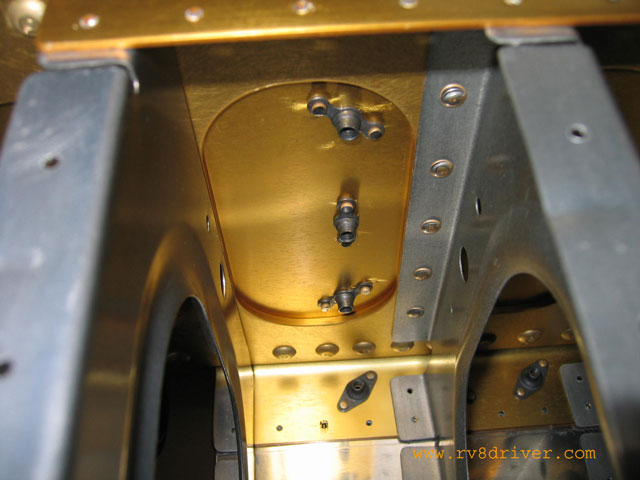
Oh brother, can't get the cage in here so I gota go by feel.
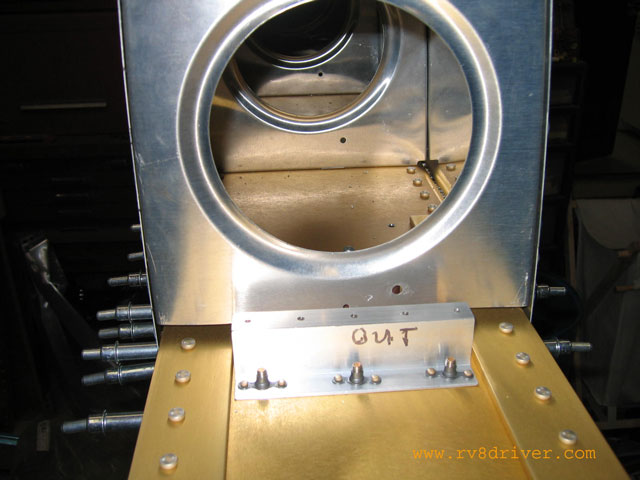
Got the nutty plates attached, turned out ok. 2 were a wee bit higher than I like but no problemo.
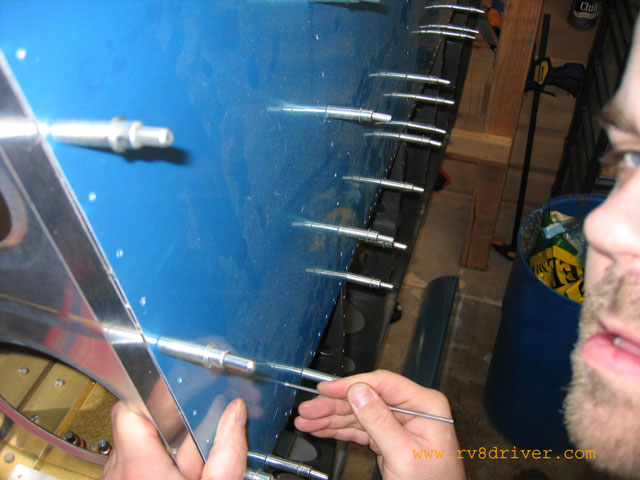
Oh man it was a pain in my arse to buck these bad boys and as you might see if you look closely the bucking bar dinged the spar, oh well.

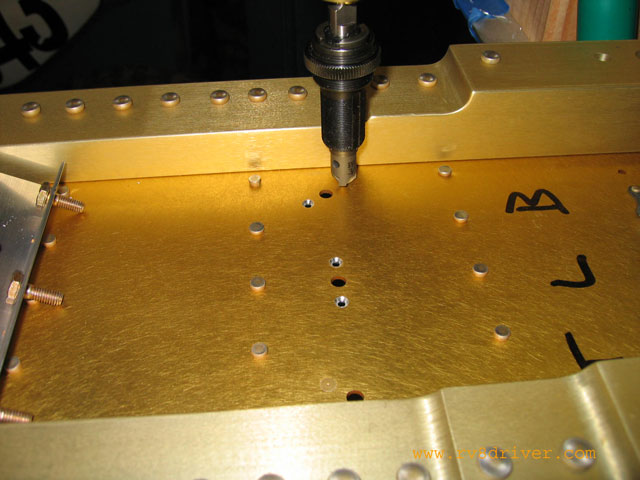
Booya, got this part all drilled up.
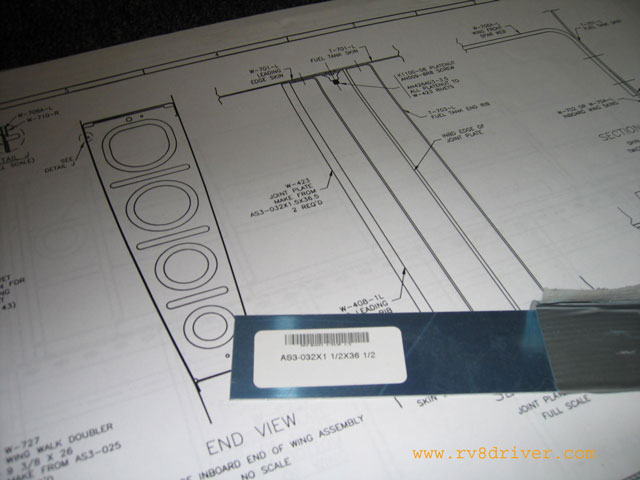
Man it took me a while in order to figure out if I had to make this joint plate, answer is yes, well not really.
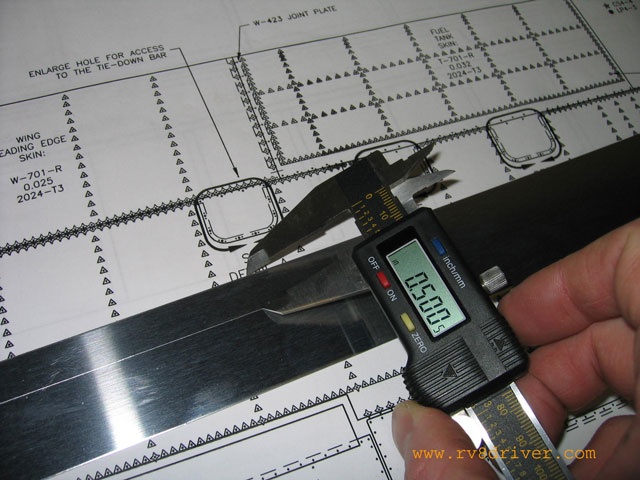
This is about all I had to do, scribe a line 1/5 in. from the edge, this is an old machinist trick, just use your calipers to make the mark, pretty cool.
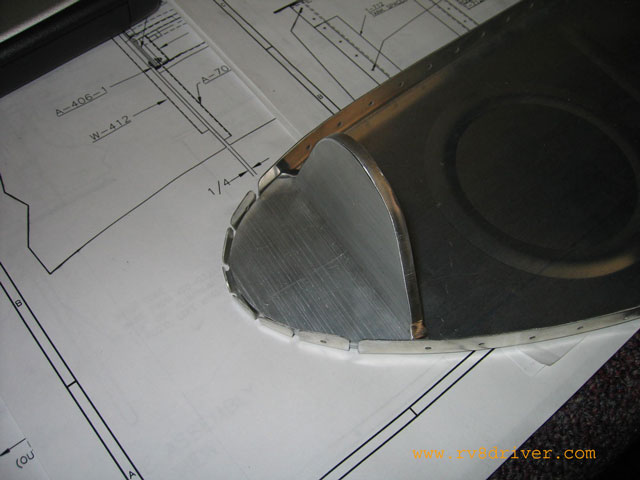
I took this picture because I just back drilled the flange/spar on this inner rib but didn't pay attention to it's location up and down, turns out it should be ok.
Chad came over and needed something to do so he knocked out the holes in the joint plate.
I had to get him crackin on something else, heaven forbid he sit around, and so I got him going on the wing tie down hole.
Turns out this is both our fault, we didn't position the tie down bracket correctly. Therefore he had to file in order to move the hole to line up with the bracket but it turns out we probably didn't need to do that, it was pretty spot one from the get go, just seated in correctly. No big deal, just one more spot for the devil to escape.
He felt bad about the hole thing that he wanted to make up for it. I am thinking it was a good thing, now I got him working even hard, sweet.
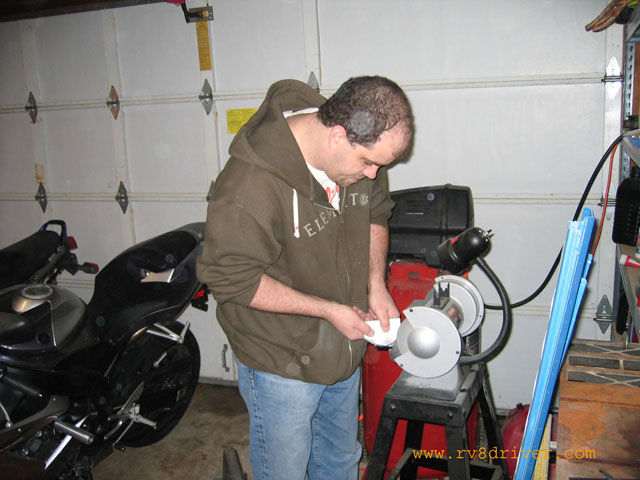
He had to split so I started working on this puppy. The band saw and 1 inch belt sander were key for this op. I was a little confused as to where I was to drill the holes. I just took my calipers to dwg 16a and measured them directly and multiplied by 2 because of the half scale thing.
My boring bar won't do a diameter big enough for this op of Chad and I were trying to get creative. Need less to say we didn't use the dremel as a matter of fact we decided to call it quits right here. As far as the RV is concerned, I think Ice Cube said it best, "today was a good day." This taking picture and convert to 640 x 480, add watermark, update web page thing is getting pretty easy. It only took me 15 minutes to do this page, not too shabby for a two bit hustler. By the way I love that WordPress but I don't think I am going to use it just because I am in a grove copying Dan Checkoway (I don't think he minds, I actual asked him). Adding pictures to WordPress seemed more timely for me.